By: Sadie Hutcheson, PAC PULSE STAFF REPORTER
Do you have 20 minutes? If so, you can have a timeless chicken recipe prepared and ready to go that can feed you up to 4 days.
The closure of the PAC Cafeteria left students scrambling for food resources in early March of 2023. Because of the late notifications, the PAC Pulse Team has thought of a solution that would assist in any type of food emergency that would arise on campus in the future – bringing your own lunch.
This concept, of course, is far from “new”; however, with the cafeteria closure, it became obvious that many students may not have nutritious options beyond a simple sandwich. Many students live in what’s referred to as an “ingredient household” – a home in which groceries consist of only ingredients used to cook meals, rather than ready-to-eat ones. While this is certainly more nutritious, it’s likely that students’ parents aren’t always home to cook for them, thus leaving students, who aren’t all able to cook for themselves, with no lunch to bring to campus.
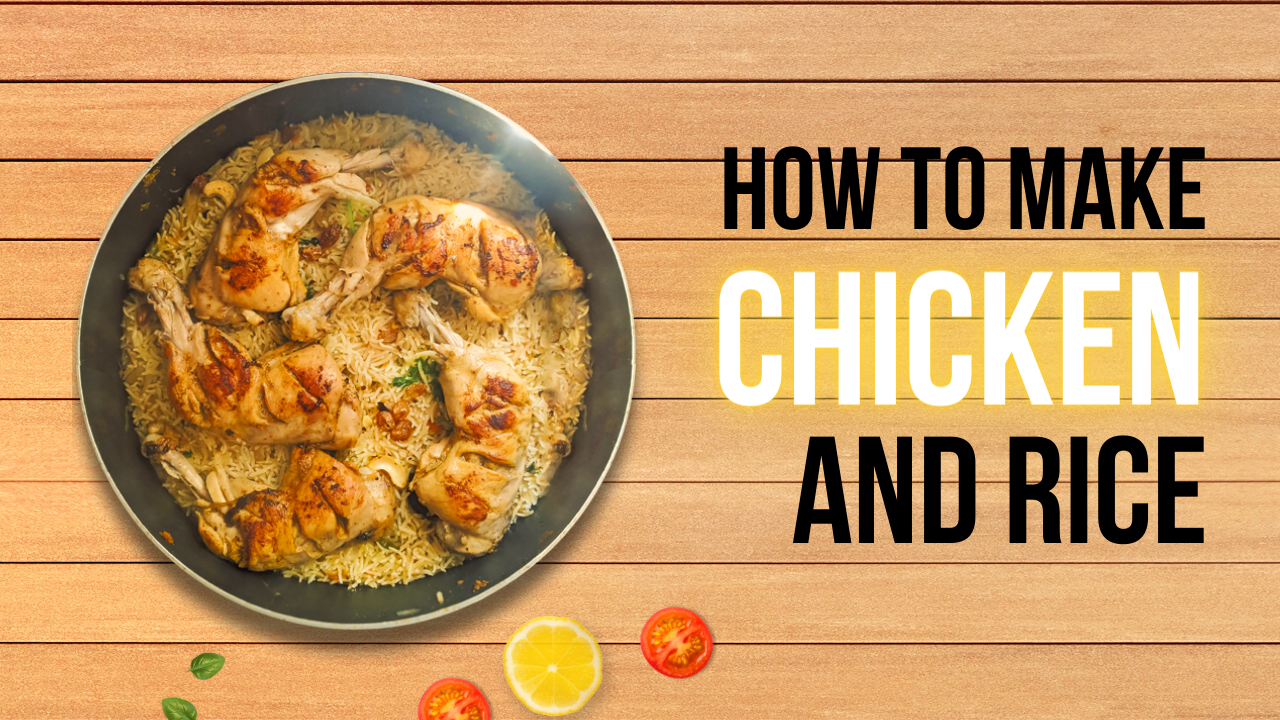
Introducing the timeless, easy-to-make recipe: Grilled Chicken and Rice.
This recipe has provided me with a quick-and-easy weekly meal prep. I’ve taken this meal to work on several occasions. The Grilled Chicken and Rice recipe is cost-effective, and easy to prepare the night before class, work, or just an on-the-go meal.
This timeless dish takes an average of about 20 minutes to prepare, including sides; the recipe below will include ingredients, instructions, and price points, all of which will allow for students to meal prep and have lunches ready for at least 4 days.
Grilled Chicken and Rice Recipe
You Will Need:
- 1 Frying Pan (any size) (the only variable that this will affect is how much chicken you’ll be able to cook at one time)
- A Cutting Board (or something you can place the raw chicken on)
- Oil (Canola Oil/Vegetable Oil) ($1.88, HEB)
- Thin Sliced Chicken Breast (Price varies per package, buy the cheapest at around $5, HEB)
- Spices! This recipe uses:
- Onion Powder ($1.50, HEB)
- Garlic Powder ($1.50, HEB)
- Paprika ($2.78, HEB)
- Salt
- Pepper
- Tongs
- Long Grain White Rice ($1.18, HEB)
- 1 small pot
- 2 Cups water
- Butter
How To Make:
Disclaimer: It’s important, if you’ve never cooked before, to read through the recipe beforehand to properly prep. Doing this will allow you to gather everything you need, that way you won’t be missing anything while in the process of cooking.
1. Take your frying pan and place it onto any burner on the stovetop. Do not touch the heat yet – this is just the prep phase.
2. Take the cap off of the Canola oil, or whichever oil you’re using, fill the cap with oil, and drizzle it into the pan – again, do not turn the stove on yet.
3. Now take the cutting board, or whatever hard surface you’re okay with putting raw chicken on, and place it on the table/counter. Open the package of thin sliced chicken breast and lay out each piece onto the cutting board.
4. Take your seasonings, I usually start with salt, and season the chicken, on both sides, with all seasonings listed above – the order in which you season does not matter, and feel free to add another seasoning you think may taste good, or take away a seasoning you think you won’t like. Make sure to season the entire breast.
5. Wash your hands after touching raw chicken.
6. Take the small pot and fill it with 2 cups of water. Place it onto a burner on the stove and turn just that burner up to high heat. The water will take a while to boil, but, when it begins to boil, take 1 cup of raw long grain rice and add it to the boiling water, stirring with a spoon as you pour. Put a little bit of salt in the palm of your hand and add it to the water and rice. (You may also add a spoonful of butter to add a little flavor).
7. Once you’ve added the rice, allow for the water to heat back up to a boil. Then, cover the pot and turn the heat down to medium. Set a timer on your phone for 18 minutes, and allow the rice to cook. Keep an eye on the volume of the pot – if you feel the bubbles are rising too aggressively, even on a medium heat, you may want to turn it down just a little – not all the way to low, but in between. (If your dials have numbers, try a 4 or 3)
8. When the timer ends, turn the heat all the way off and allow the rice to sit for 10 minutes before uncovering; this will make the rice fluffier.
9. Now you may turn the burner that you are resting your frying pan on to medium/high heat (usually around 4 or 5).
10. Let the pan and oil heat for about a minute, then take 1 seasoned chicken breast and lay it slowly into the hot pan, taking care to place it from one end to the other – do not just slap it into the pan, as this will cause the oil to splash and may result in a burn.
11. Do not touch the chicken for 3 minutes.
12. When 3 minutes is up, take your tongs (or spatula or fork) and flip the chicken breast, taking care not to splash it. Allow the chicken to cook for 3 more minutes.
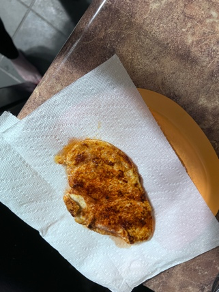
13. When the last 3 minutes is up, take the chicken out of the pan and transfer it onto a plate. You may notice that some of the oil has dried up; you can add oil to the pan as needed, and you should only need about a capful at a time.
14. Repeat steps 10-13 until all of the chicken has been cooked
15. Congratulations! You’ve completed the recipe!
Disclaimers: Do not pour used oil into the sink, it will cause blockages; dispose of used oil into the trash can, outside, or in a glass jar. Be careful around hot oil and surfaces.